
Practical guide ·
How to fit an iPad keyboard to your thumbs
Start with the way you hold your iPad, then bring the keys to that position. In SplitKeyboard, reach, key height and vertical position are separate adjustments. Change one at a time so you can tell what actually makes typing easier for you.
By Amberlake, maker of SplitKeyboard. Written with AI assistance and checked against the app’s controls. This is a guide to our app, not an independent review or a medical claim.
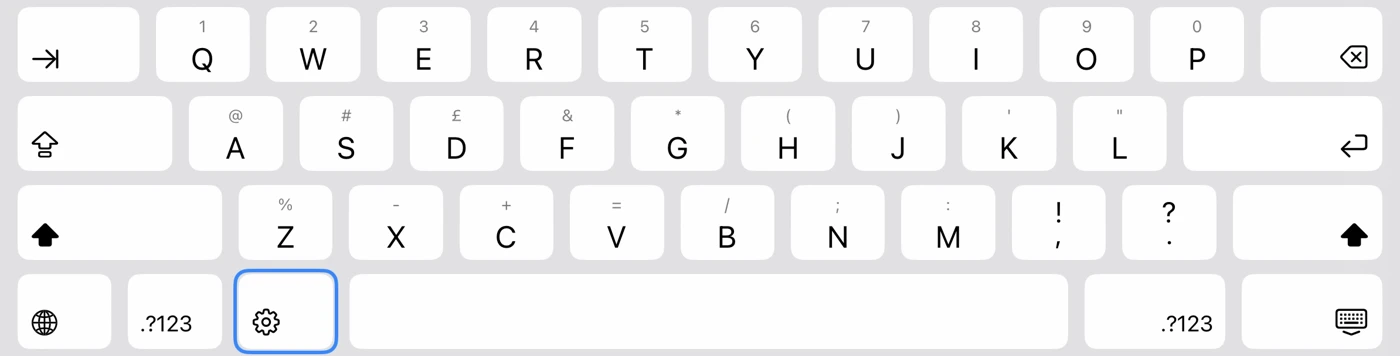
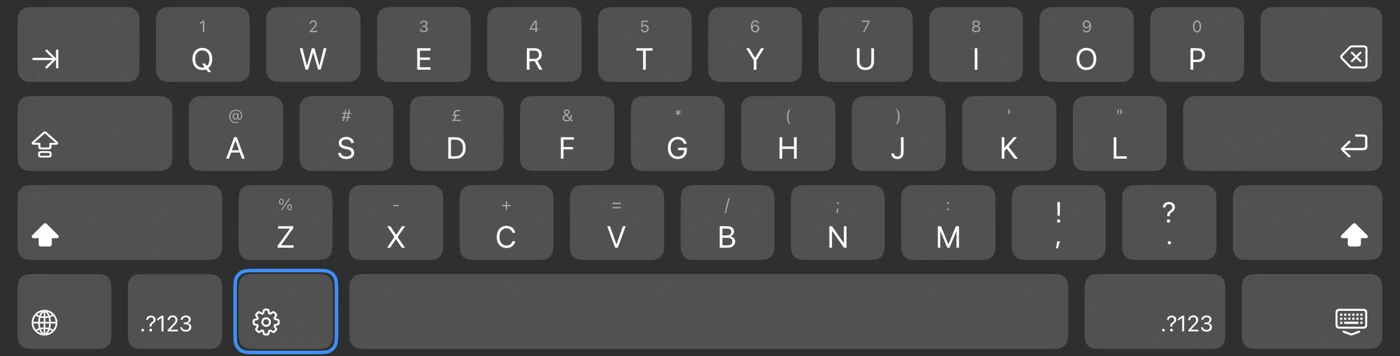
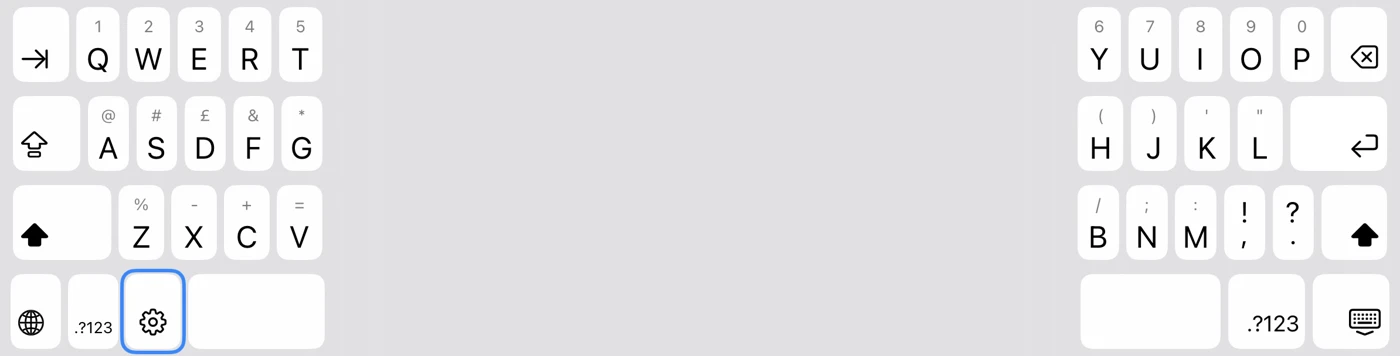
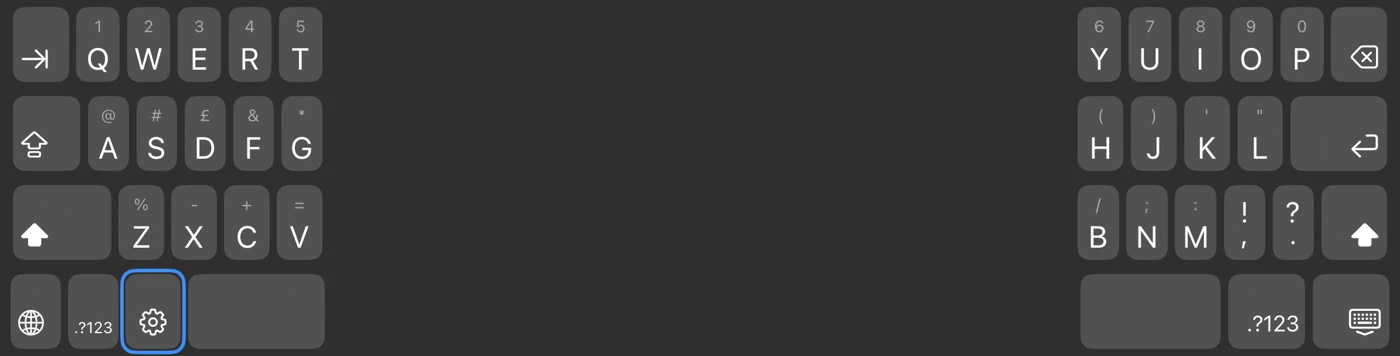
Tap any screenshot to open it at full size. The images follow this website’s light or dark appearance. Look for the blue outline to see where to tap or which slider to try.
1. Open the preview and choose joined or split
Open the SplitKeyboard app and tap Show keyboard if the preview is hidden. Under Keyboard settings, use the Joined / Split control. Choose Split for two banks, or Joined for one continuous keyboard. Hold the iPad as you normally would. Ready to tweak the fit? Tap the highlighted gear key to open the keyboard menu.
2. Tap Fit in the keyboard menu
Tap Fit, highlighted below. This opens the sliders above the keyboard.
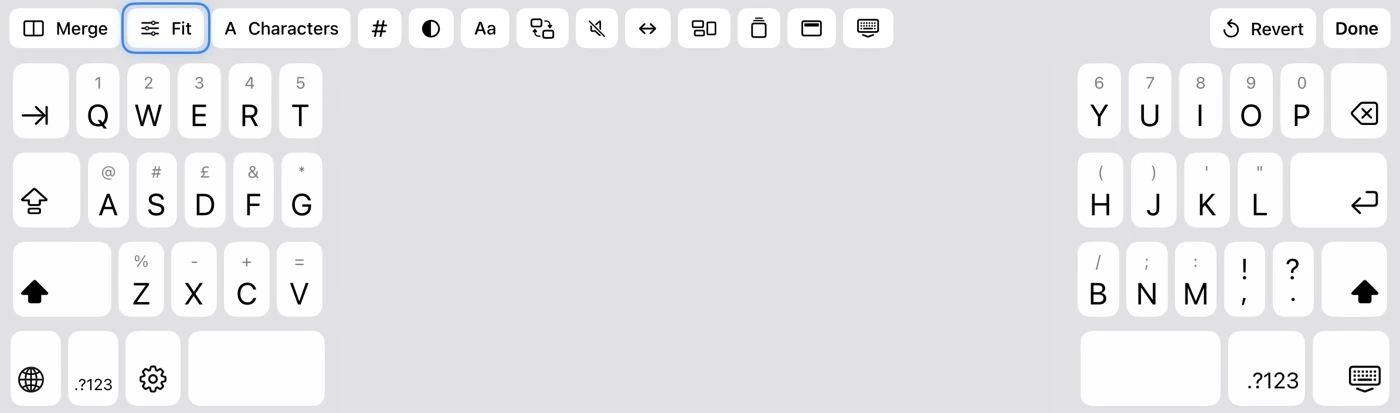
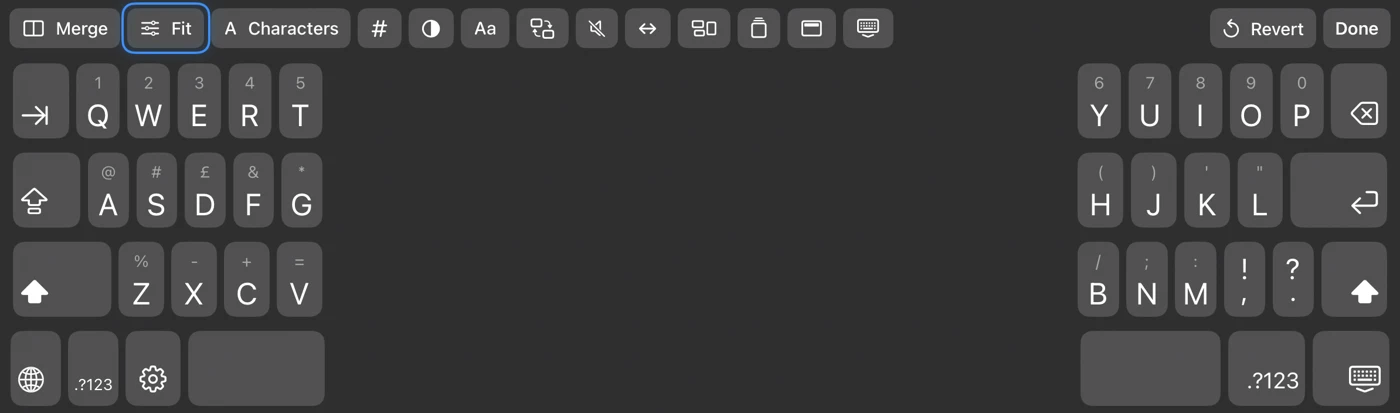
You’ll now see the Fit controls just above the keys, so you can watch the keyboard change as you adjust it. On a wide keyboard it shows all four sliders; in narrower spaces, use the adjustment menu to choose one.
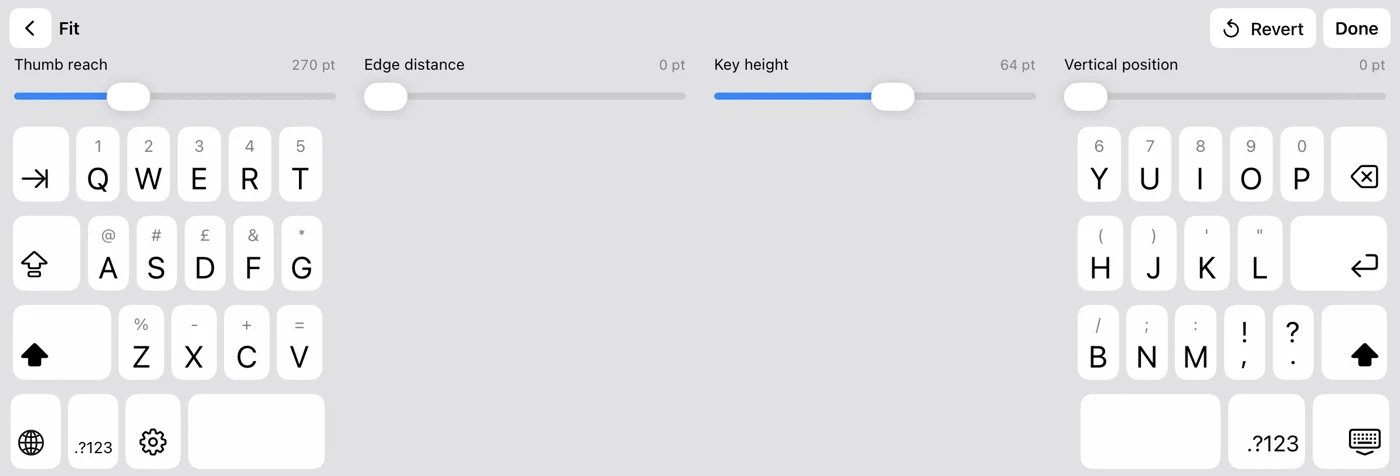
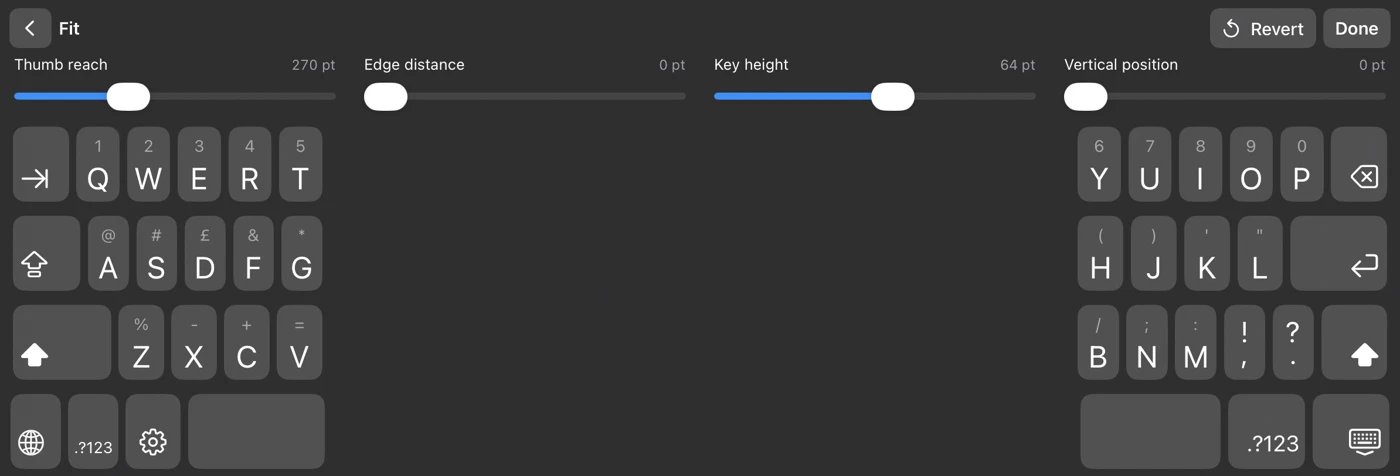
Drag a slider a little, then type a few words. Move it back or use Undo in the app if the result is worse. The keyboard panel calls its undo action Revert. Settings save as you go.
3. Bring the middle keys within reach
Thumb reach changes the width of each split bank. Drag right to let it extend farther toward the centre; drag left to make it narrower. This control is disabled in joined mode.
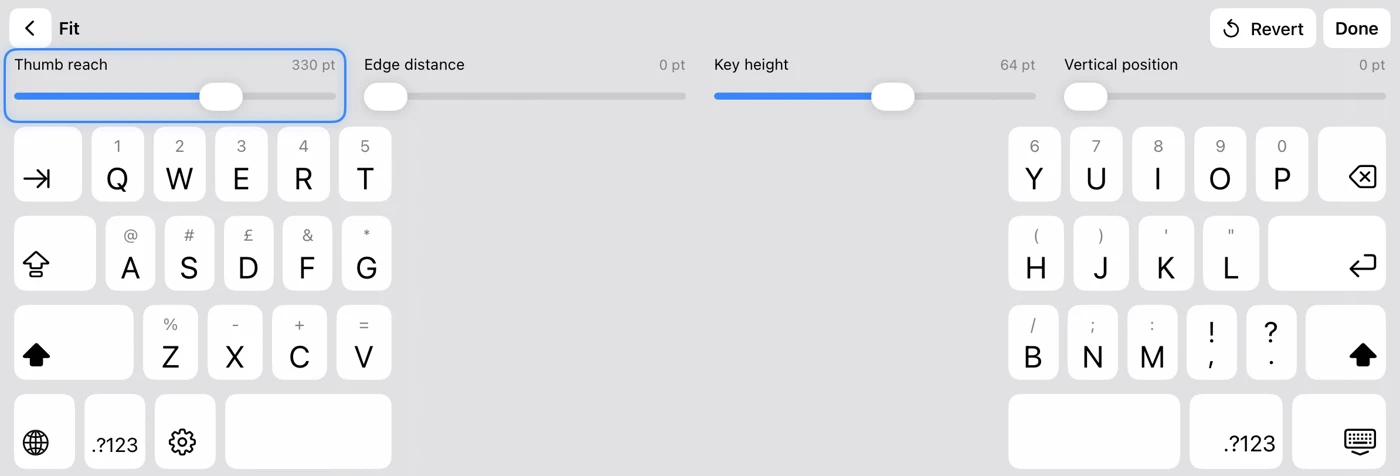
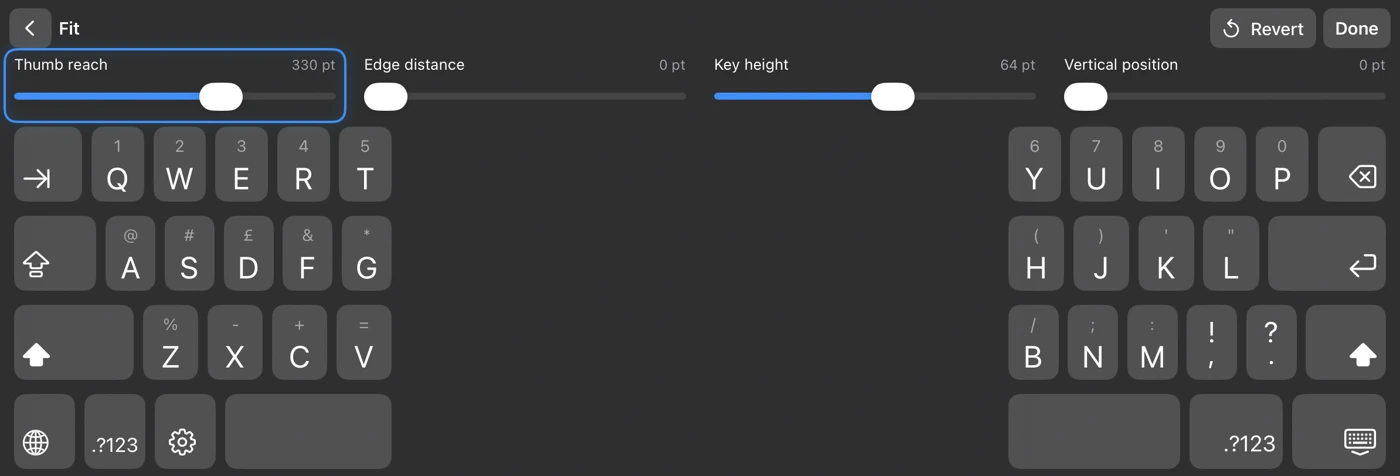
Try the letters closest to the centre as well as those near the outside. Check whether you can reach them without shifting your grip. Go with what feels easiest to reach.
4. Move the banks away from the edges
Edge distance moves the keys inward from the sides of the screen. It is a different adjustment from Thumb reach. Start by leaving reach where it was and dragging Edge distance to the right.
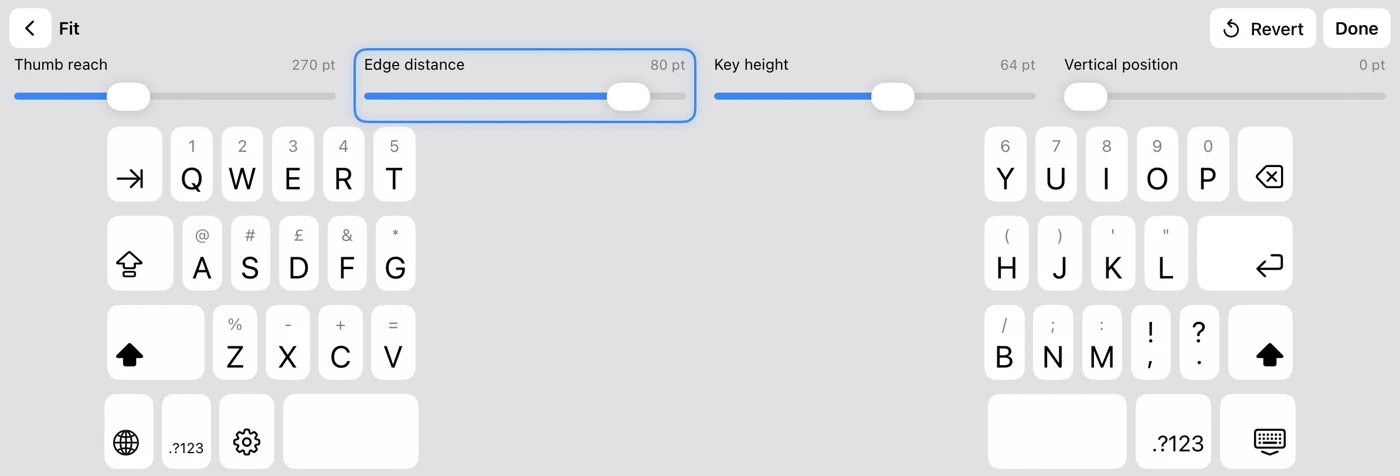
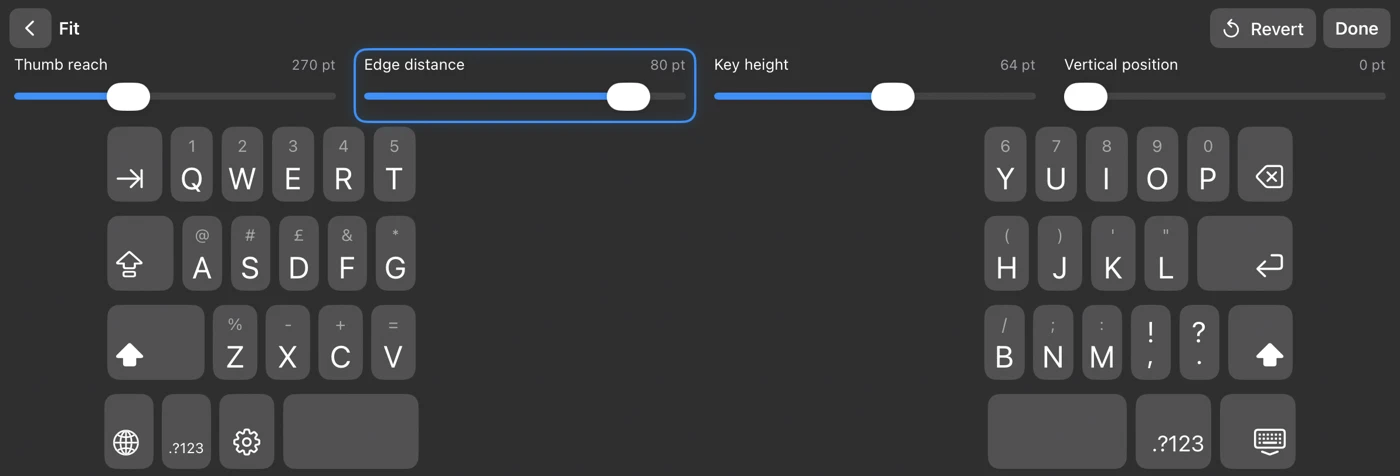
Stop where your thumbs naturally meet the keys, then test Space, Delete and Return. The keys do not have to stay pinned against the sides.
5. Make the keys taller or shorter
Key height makes the keys taller or shorter. Drag left for shorter keys and right for taller keys. Keep the other settings as they are so you can feel the difference.
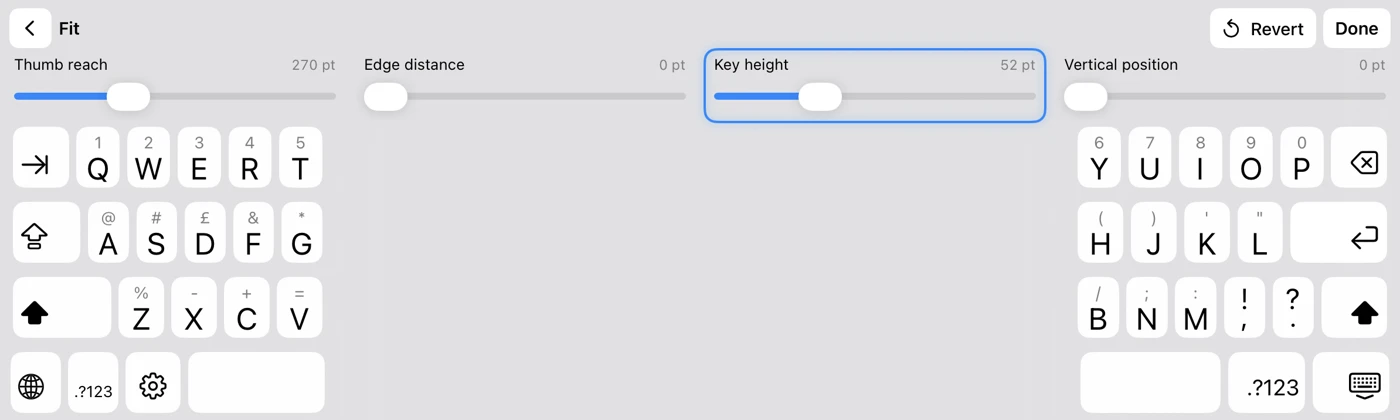
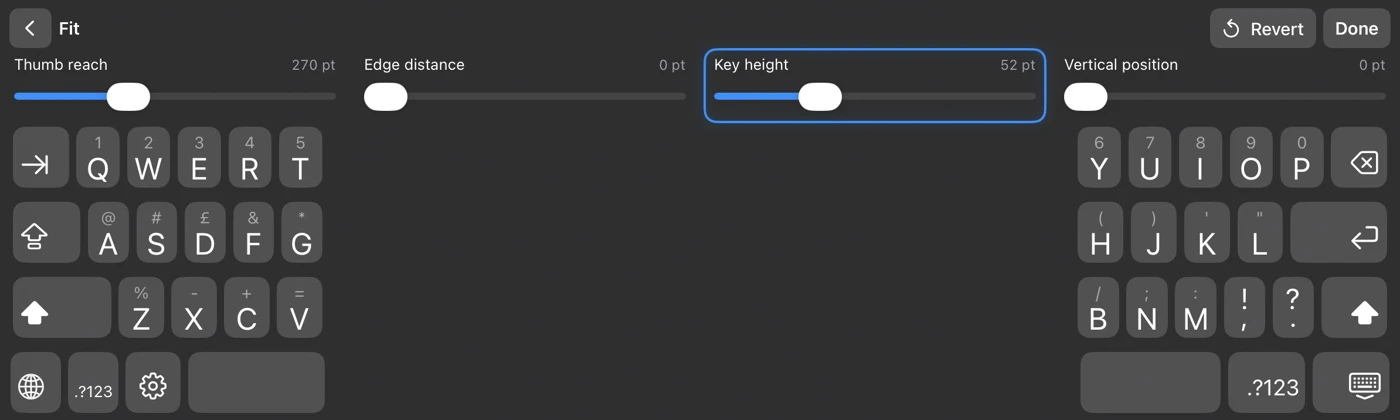
6. Move the keyboard a little higher
Vertical position moves the keys upward within the keyboard area. Use it when your thumbs naturally sit higher, rather than increasing key height just to reach that position.
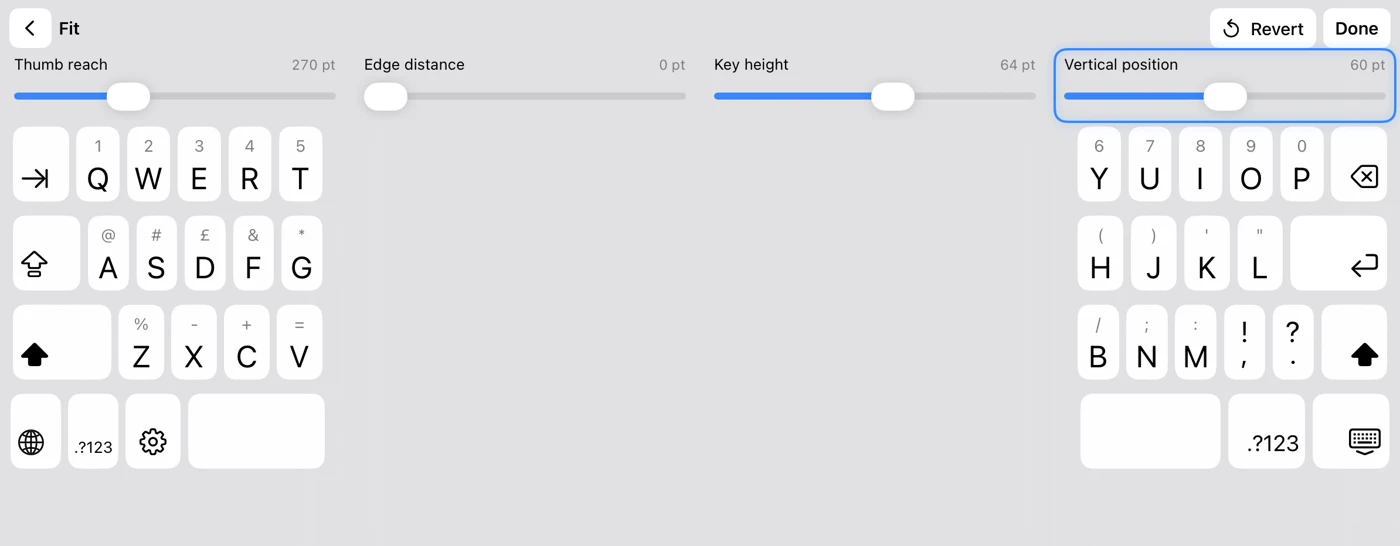
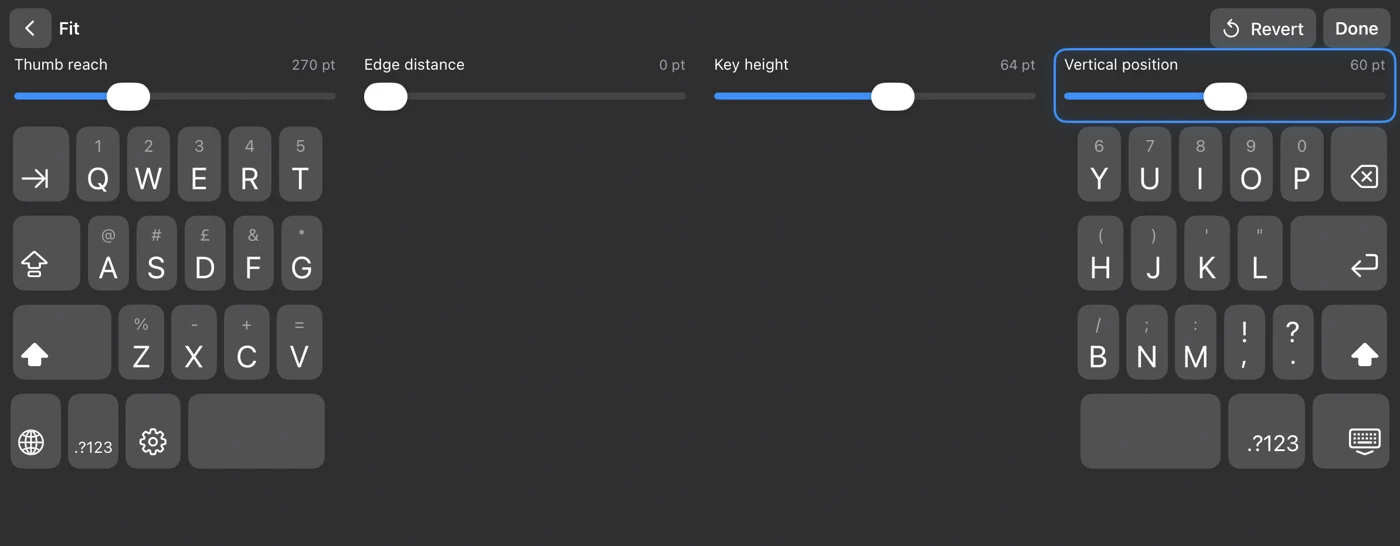
Raising the keys also uses more room in the app. Check that you can still see the text you are editing. Return the slider to 0 pt if you prefer the keys at the bottom.
7. Give it a try and find your favourite
Type “Pack a jumper. Take the keys. Leave at 10.” Correct a word, add a line and type a number. Repeating the same task helps you notice what each change did.
Turn the iPad and repeat in portrait. Joined and split each keep their own fit for portrait and landscape, so check all the modes you actually use. And why not save a few profiles? Play around with different setups, switch between them and see which feels like your favourite.
These screenshots use an 11-inch landscape layout, with blue highlights added to guide you. Things may look a little different on your iPad or in portrait. Use the accessibility guide for the controls’ limits and ways to send useful feedback.
Try the fit before buying
SplitKeyboard by Amberlake has a free, unlimited-time preview inside the app. Using it to type in other apps requires a one-time unlock, £4.99 in the UK. Apple shows local prices. There is no subscription, account or Full Access requirement.
Autocorrect, predictions, swipe typing and dictation are not included. Some fields and apps require Apple’s keyboard. Check the features and limitations before buying.
We are looking for feedback on making typing more comfortable. Use Feedback & requests and include your iPad model, orientation and the adjustment that did or did not help. Please leave out private text.